Uncategorized

6 easy ways I have helped reduce plastic and saved money!

I’ve always been conscious about our environment. I grew up living opposite a forest full of wildlife; at University I studied Environmental Science as well as Archaeology; and I now run my own business which re-purposes old books.

But this year we have seen a huge focus in the media on reducing plastic waste – and rightly so. A quick Google search will give you all the facts and figures, but here are the very few small changes that I have made to reduce plastic.

Very quickly I just want to say this is not an ad, all items were purchased by myself and any businesses mentioned are merely my own recommendation. Okay let’s move on…

1.The reusable bag

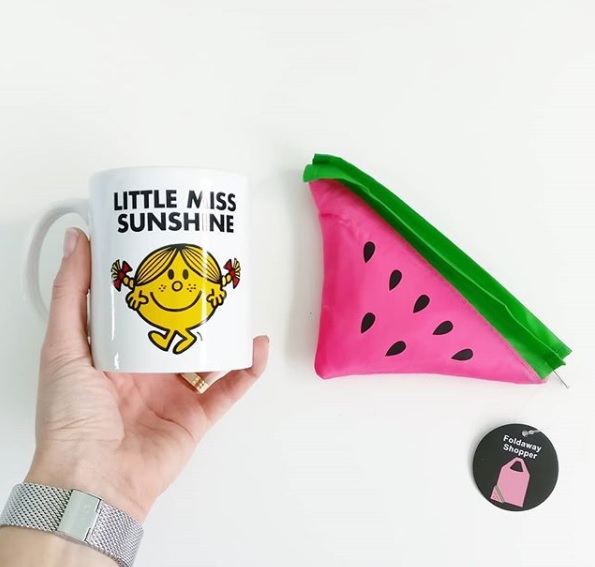
What I love about this bag so much is that I swapped it with an unwanted Christmas gift (A duplicate Little Miss Sunshine Mug) at my local WI group. I also love the fact it’s a watermelon, and that it folds down really small but is really strong and is easily filled with books on an impromptu visit to the charity shop!

I also carry a spare in the car boot just in case!

2. The reusable coffee cup

Coffee Cups (from Primark) with beautiful handmade cozies by The Fun Impossible – Laura also make lots of other environmentally friendly products

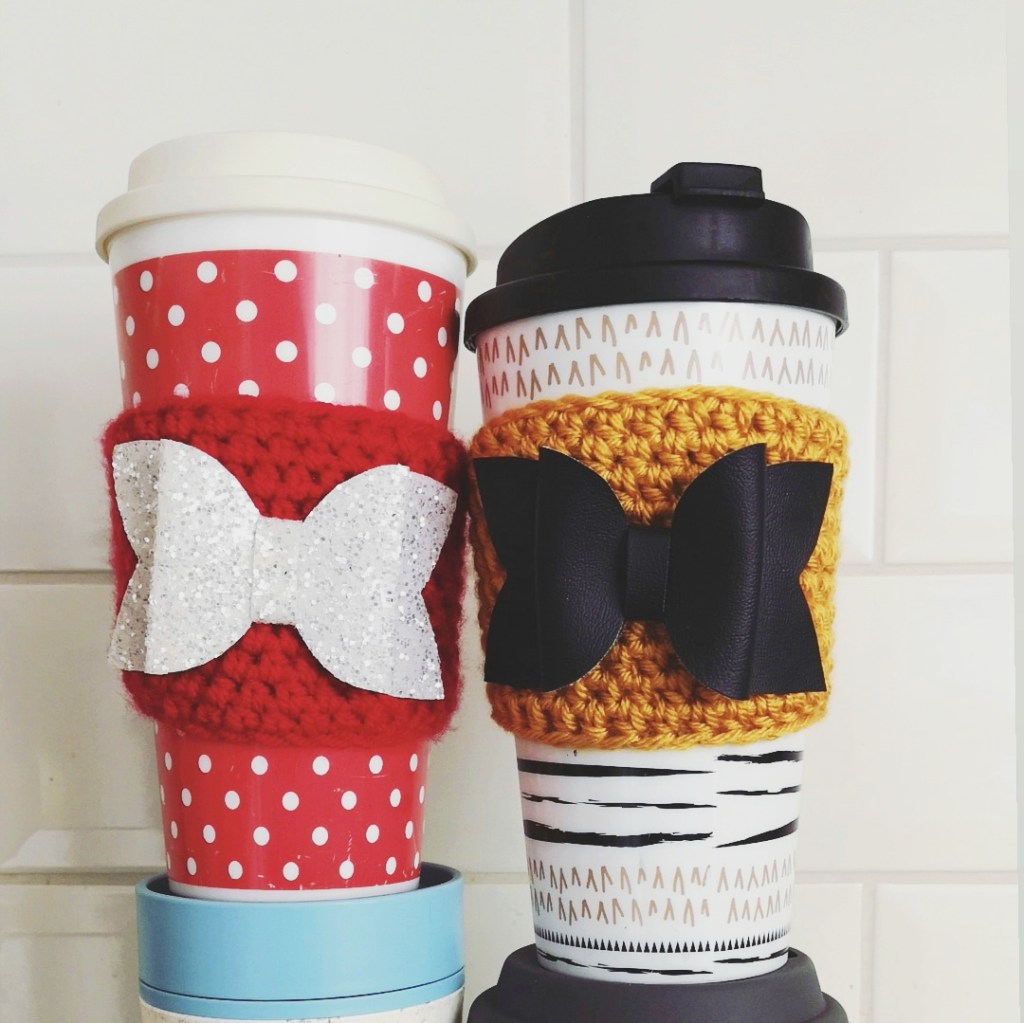
I love coffee. And I drink lot of it, so a reusable cup immediately helps reduce coffee cup waste. Although coffee cups can be recycled , it’s not an easy process and there are only a few places in the country that have the machines to specially remove the plastic lining from the paper outer.

I may invest in a collapsible cup as I do find when out and about they do take up a lot of space in my bag. I always get lovely comments on my cup cozies by The Fun Impossible.

3. Cheeky Wipes Cosmetic Pads

Cheeky Wipes Cosmetic Pads

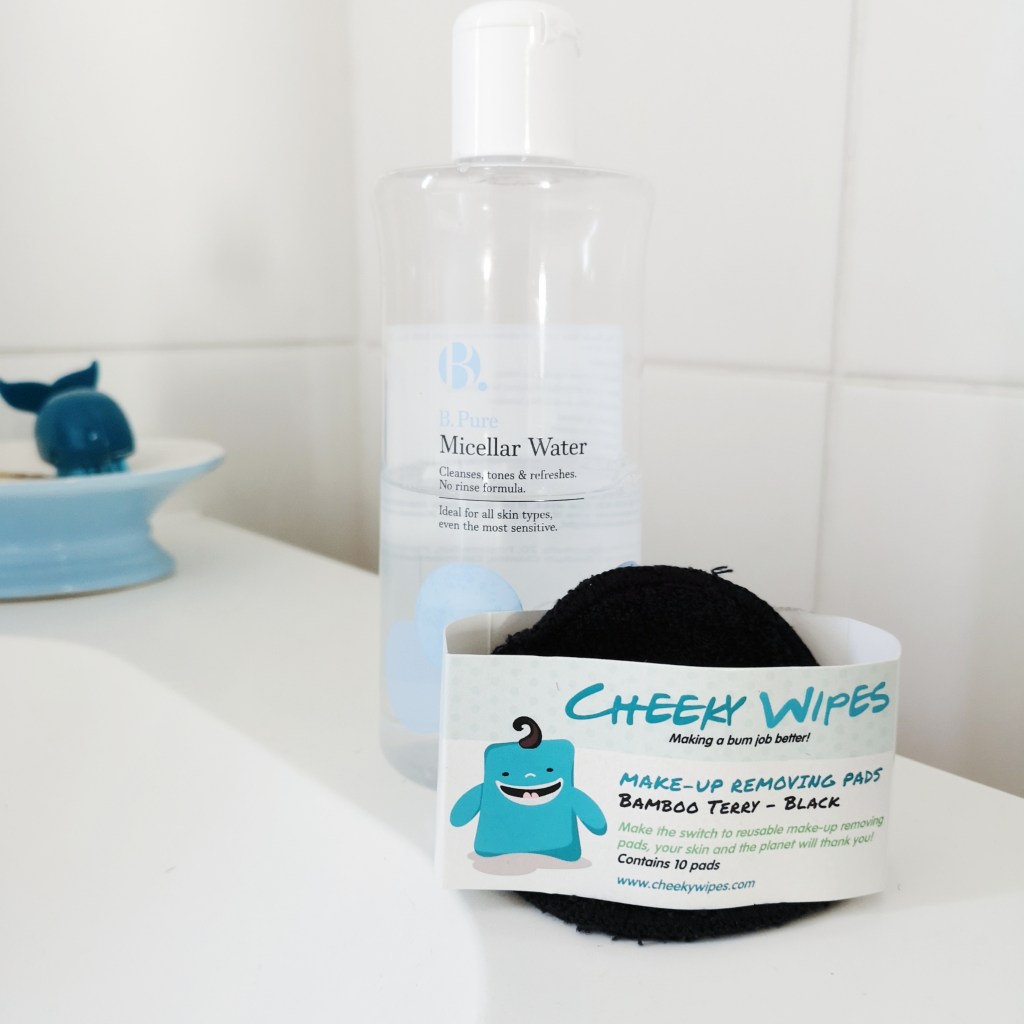
These wipes have replaced my cotton wool pads and have made me wonder why we ever use cotton wool pads? Once upon a time I’d have used a flannel, but as I like to use Micellar Water these days, a flannel is just too big.

The Cheeky Wipes bamboo towelling pads come in black (and hide any mascara stains) they come in packs of 10 and can be popped into the wash with ease. I especially love the fact that they are posted in plastic free packaging all of which you can recycle.

4. Crisp Packets

Look up your nearest Walkers crisp packet recycling point

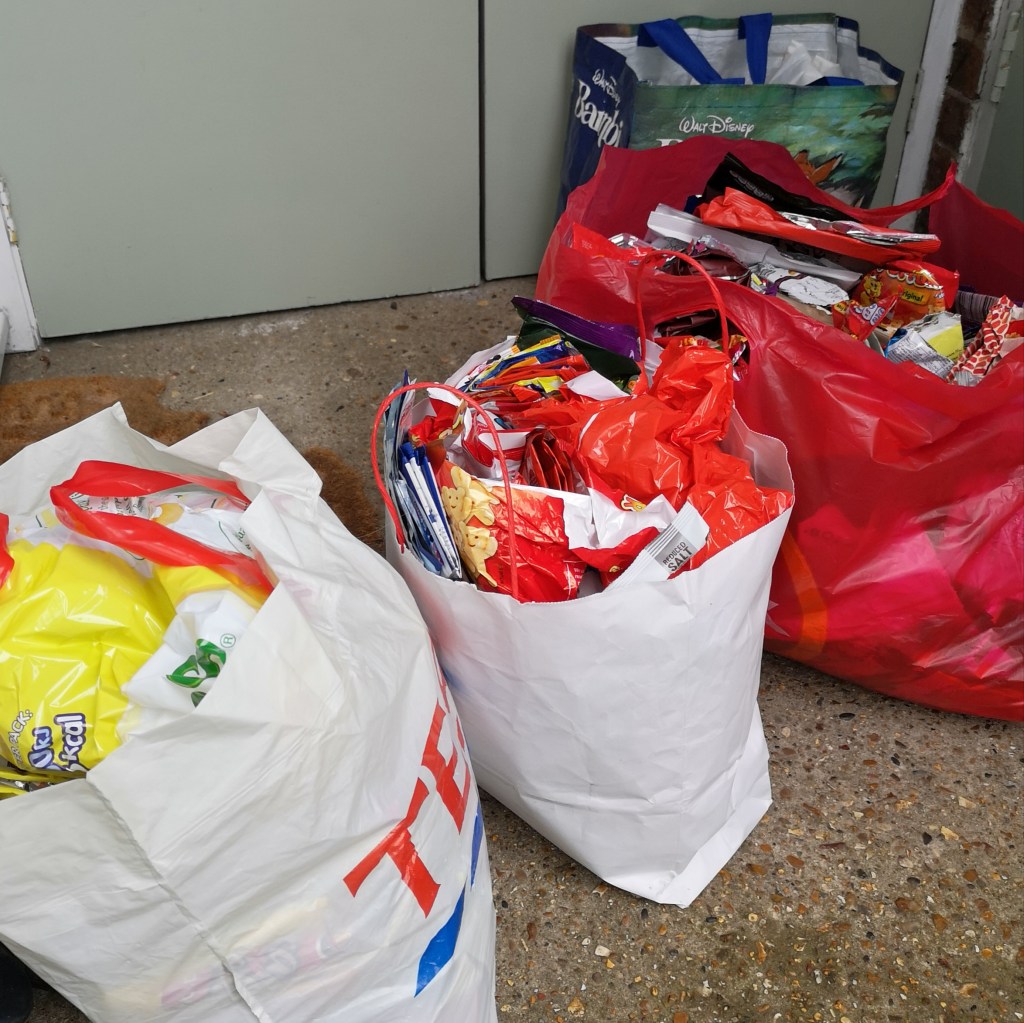
No, I’ve not found an alternative to the crisp packet, nor have I stopped eating crisps (shh don’t tell my Slimming World consultant 😉 ) but I have stopped putting them in the general waste. Even though my local council won’t recycle them I now volunteer to recycle the crisp packets for our local WI, and at the last meeting we had well over 300 packets to drop-off at the nearest Walkers Crisp recycling centre. Throughout the month I store the crisp packets in a tin in the kitchen.

Walkers have teamed up with Terracycle and have hundreds of bins in schools and public places over the country that can recycle ANY crisp packet – doesn’t have to be Walkers – check out their website for more details.

5. Re-usable water bottle

My water bottle from Hydratem8 is a few years old now and still going strong!

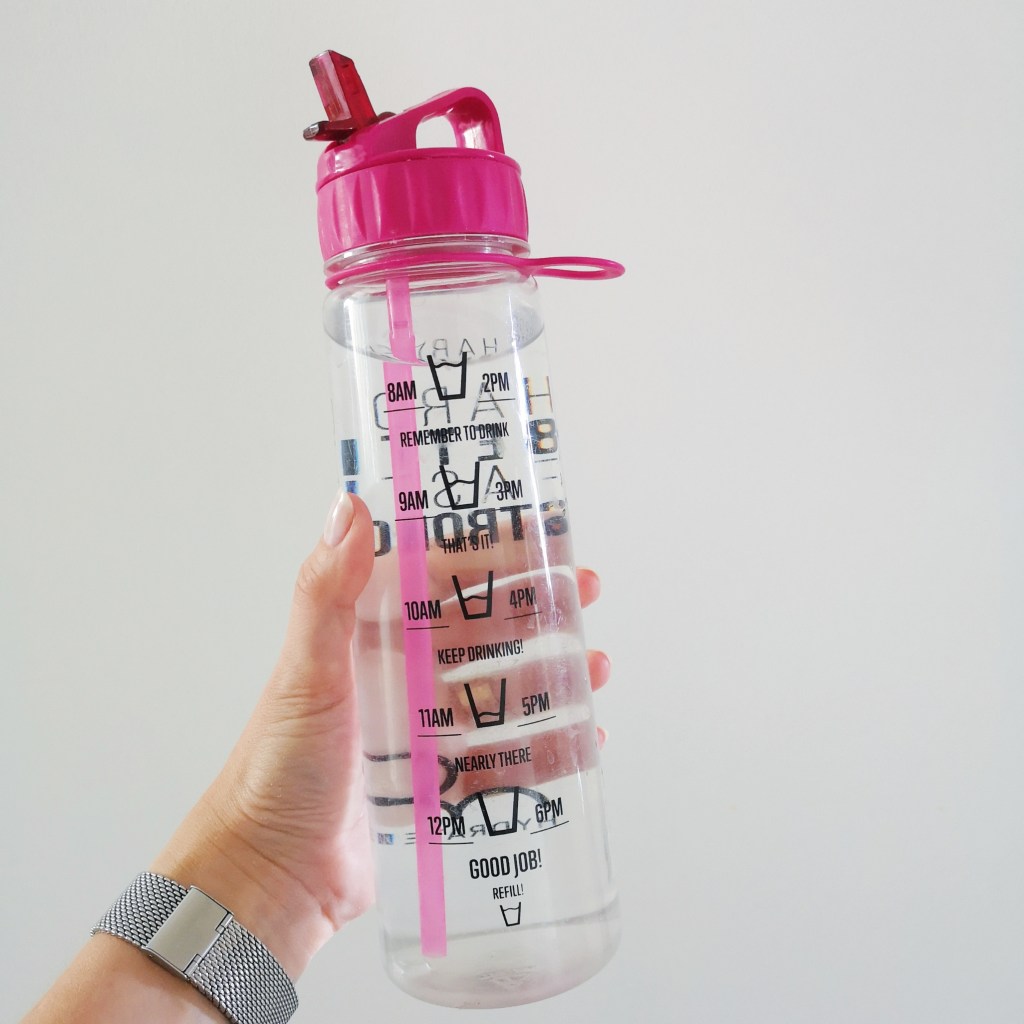
I cannot remember the last time I bought a bottle of water… I’ve had my Hydratem8 for a few years now and can’t fault it. Yes it’s made of plastic but I’ve had plenty of use from it and plenty more to come I hope!

I especially love the fact that it helps encourage me to drink more water. And now with so many businesses signing up to the refill scheme it’s easy to get free water all over the country!

6. Swapped Wipes for anti-bac spray and cloths

A no brainer. If you haven’t watched BBC’s War on Plastic with Hugh and Anita then I really recommend you do. The wipes problem isn’t only a large cause of fatbergs in our sewers but they are hugely contributing to the plastic problem. I used to use baby wipes to clean my notebooks, but now I use a diluted antibac spray and a cloth – just dampen the cloth and wipe. Simple! And saves me money too!

There are lots of other ways to help reduce plastic, these are my main ones which have made very little impact on my normal daily routine. Please feel free to share your tips or let me know if this has inspired you to make a change and help reduce plastic waste.

Uncategorized

Make a Paper Rosette Tutorial

In this simple tutorial I will show you how to make a cute paper rosette. Once you know how, you will be able to make them in a range of materials and sizes for all sorts of occasions!

You can use any paper to make a rosette but if you’d like to use vintage paper, I sell bundles of 300 sheets at £5 each

These cute rosettes can be used for a variety of things, I like to use in gift wrapping but here are some other ideas:

Get all your equipment together:

You will need paper, knife, ruler, cutting mat, glue, scissors and a stapler plus anything else you’d like to use as an attachment e.g. safety pin, magnet, hair clip etc…

You should have 5 big strips and two small strips – these measure 1cm x 17cm and 1cm x 8.5cm

Glue the five long strips into rings with about a 5- 8mm overlap – try to keep them all the same size.

Now comes the fiddly bit. For your first time you may find it easier to pop a little bit of glue inside the circles to create the figure of 8 shapes and then layer them (with practice you won’t need to do this)

With all the 5 circles layered pop a staple through them to hold them in place – try and aim for the centre as best as possible. (We will be covering the staple up!)

Try and make the triangles as symmetrical as possible. If using ribbon I would suggest folding the ribbon in half and cutting a diagonal line from crease to corner to create the perfect notch, but you don’t want to do that when using paper as you’ll see the crease!

You could glue them but stapling makes them more secure.

Hide the staples with a button or something decorative like a scrabble letter like I’ve used here – a cute way of personalising a gift!

I hope you’ve enjoyed this tutorial – if you have a go at making one please share on your social media and tag me @retrofromscratch so I can see it!

Remember you don’t have to use vintage paper to make your rosette – why not recycle some old restaurant menus or unwanted flyers? An old magazine? Or even newspaper? You can make them from ribbon too, just remember to replace the stapler with glue – I recommend Bostick All Purpose Glue

If you have any questions please ask! Happy crafting!

Becky x

Uncategorized

Ladybird Books are Rubbish!

Instagram can be a wonderful thing! As you know my business is all about recycling and reducing waste. So when I saw on Instagram last month, that Linzi Loves Books was throwing away some of her Ladybird Book collection – I was quick to ask if I could have her old covers.

A little note from Linzi with many wonderful covers which so many of us would have read when we were little

I’ve been following Linzi for some time on IG and she has thousands of Ladybird Books in her collection now, so much so she can afford to get rid of doubles, and the ones that are so damaged they’re not worth anything. (To collectors at least…)

She had removed the original papers from the books to use for paper crafts but the covers were destined for the bin. She didn’t know if I would be able to save any, but we both thought it was worth a try, so I paid the postage and she kindly sent them over.

Amazingly there were very few that I had to get rid of. The rest, although well loved, will make fantastic notebooks and are available to buy from my online shop, now.

Some of them needed a bit more love than others. For example this Little Red Hen book had an unfortunate sticker on the front cover (often the cause of damage for old ladybird books – charity shops are a nightmare!) however I was overjoyed at successfully removing it!

Before…
After… it is the same book, promise!

Let’s face it, we all love Ladybird Books and I think Lawrence Zeegan, author of Ladybird by Design, explains it perfectly: “A Ladybird book evokes strong feelings; deep-rooted memories of a time and a place when a simply designed and cheaply produced book could resonate across generations of readers.”

These books have passed through many generations, and it’s a lovely thought to know they can get a new lease of life as a notebook. As they are a little extra worn and don’t have their original pages, they are just £4 each. (Instead of £6) I have also added a drop down menu on the shop listing if you would like to add metal book corners for an additional £1.

Here’s one I made earlier…

They can be purchased with any of the upgrades from my shop; so they could come with lines, or as an address book, a diary etc.. just add the upgrade to your basket before you checkout.

There are so many things you can make with vintage book paper…

And if you fancy a bit of recycling yourself, you can purchase bundles of leftover paper from my notebooks to make all sorts of wonderful things. I hope to show you some craft ideas in future blogs -watch this space!

Uncategorized

Finding one’s marbles…

Last Sunday I took part in a marbling workshop at the Baytree Shopping Centre in Brentwood. Amazingly, it was a FREE workshop provided by the Brentwood Art Trail.

The last time I tried marbling was when I was at school. We did it A LOT! So much so it wasn’t hard to find some that I did when I was 7 years old…

It’s not about the dragon…

My love for old books means you often find marbled paper inside them, or on the page edge. And when I did a book binding course a few years ago at the Essex Record Office, we got to work with some beautiful marbled paper as you can see here.

I loved using this marbled paper to make my notebook.

The workshop didn’t disappoint. Run by Julie (@ladyvermillion on IG) she showed us some of the examples she had made and briefly explained what we needed to do.

The equipment is simple so you can easily have a go yourself at home. You just need a washing up bowl or tray of water, some nail varnish and some things to marble.

This is a brilliant way of using up old nail varnishes – I know I’ve got some stored away – random colours that seemed like a good idea at the time! All you have to do is pour the nail varnish onto the water surface – that’s the important bit, getting it on the surface, not dropping to the bottom of the bowl. I found the easiest way to do it was to pour close to the surface rather than at a height and to wave the bottle friskly!

It can get messy so gloves, apron and newspaper are a good idea!

It was very much a case of trial and error. Waiting for the paint to disperse definitely gave a more ‘natural’ marbled look, but, left too long and it would set on the water and not adhere as well. (Some peeled off my paper)

The concentration….

More paint gave brighter images, I tried some swirling with a wooden stick to create some patterns, but again speed was the key, if I wasn’t quick enough I found myself collecting the paint onto the stick.

However the stick method was handy for cleaning the water surface when you wanted to change colours. You could just push the excess paint to the side of the bowl and start a fresh, no need to change the water each time.

I mostly marbled on watercolour paper as I liked the texture – but being absorbent it did take longer to dry! I also marbled a glass jar which dried really quickly, it’s now a pen pot!

We were each given a notebook and the idea was to make a bookmark from our marbled paper at the workshop but we ran out of time with the drying so I waited until I got home to decorate my notebook and used the left over paper to make my bookmark.

I really like the swirls on the bookmark.

I left feeling eager to marble more! Although I love the idea of using up old nail varnishes, I think using a marble kit may be better for creating the papers that I would like. I was going to say they’d probably be more predictable but I don’t think marbling can ever be predictable and that’s the whole point, you never know what you’re going to create!

Some of my other work made from the workshop

If you’ve thought about marbling, I hope that maybe you might like to give it a go now. It’s so simple, and if you’re after inspiration on things to marble, just have a look on Pinterest! And if you make anything – I’d love to see it so please share and tag me in!