Back in March I was invited to help our Women’s Institute, The Brentwood Belles, with our entry for the Elizabeth Bell photography competition .
The National Federation of WI invited WI’s across the country to submit a collection of photographs depicting a year in their WI. We were to choose 12 photographs which could be displayed in any way chosen by our WI i.e. calendar, photo book, scrapbook or simply individual, mounted photographs.
We kind of left it to the last minute – but there’s nothing like working under pressure! Our photos were taken by a variety of members and were chosen by our secretary Tricia, to show what us Belles got up to over the last year.
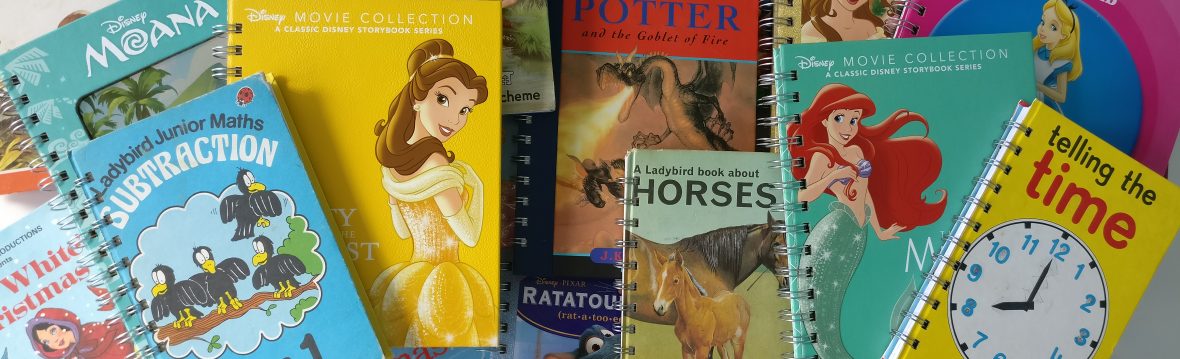
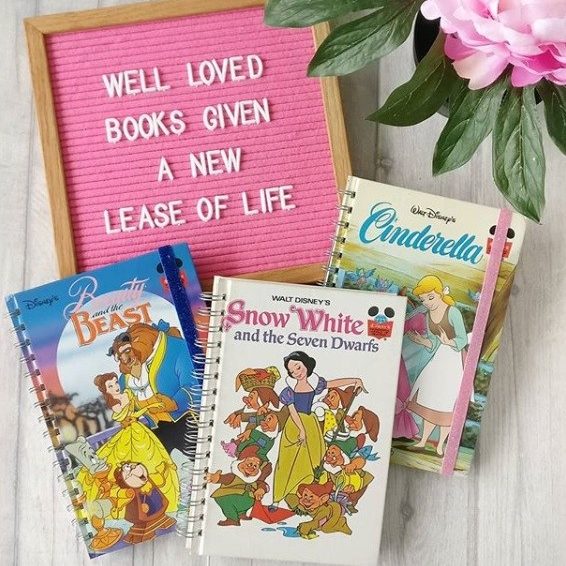
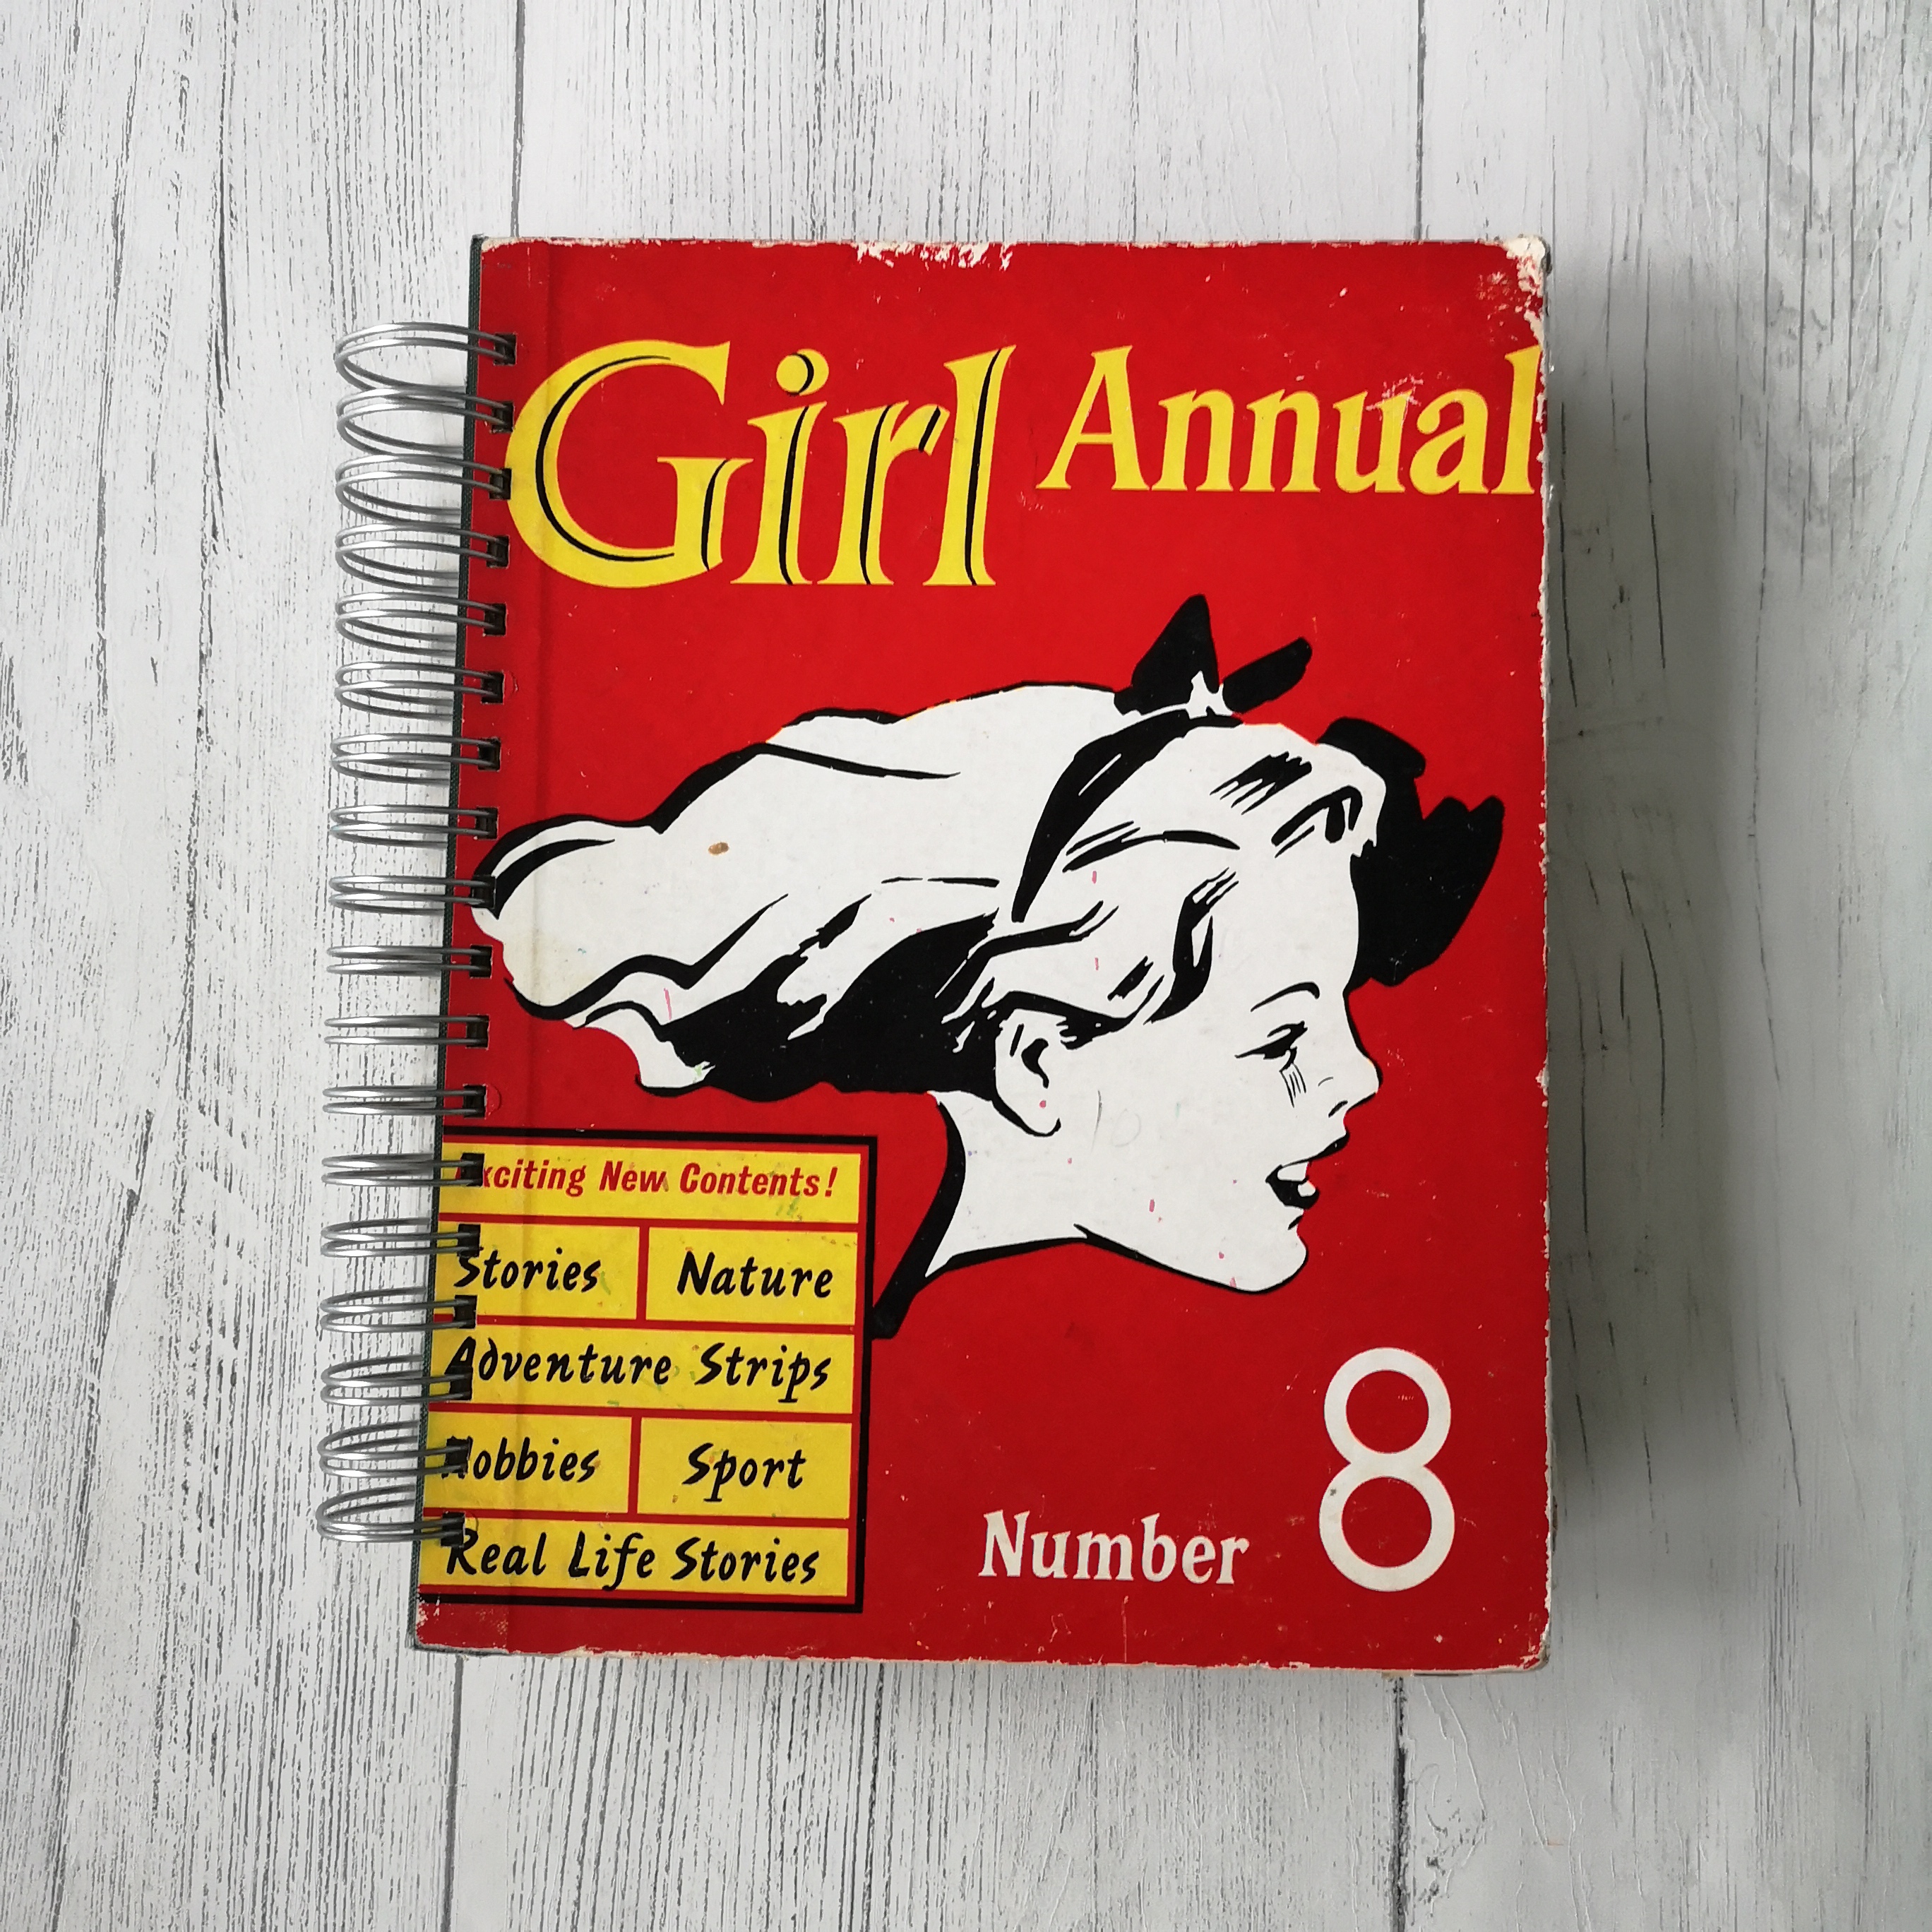
My job was to present the photos. It was decided one of my vintage books would make a great cover and we’d present the photos ‘scrapbook style’. The rest was down to me. It was at this point I had to admit I had never made a scrap book before!
We submitted our entry and the Essex Federation put us forward for National Judging! I was thrilled it got through, I certainly didn’t expect anything more. However amazingly out of the 135 entries submitted nationally, we were awarded highly commended and came joint fourth! The book was then displayed in Brighton for all to see at the NFWI AGM. I’m so proud of this achievement.
I thought I’d share the details behind each page…
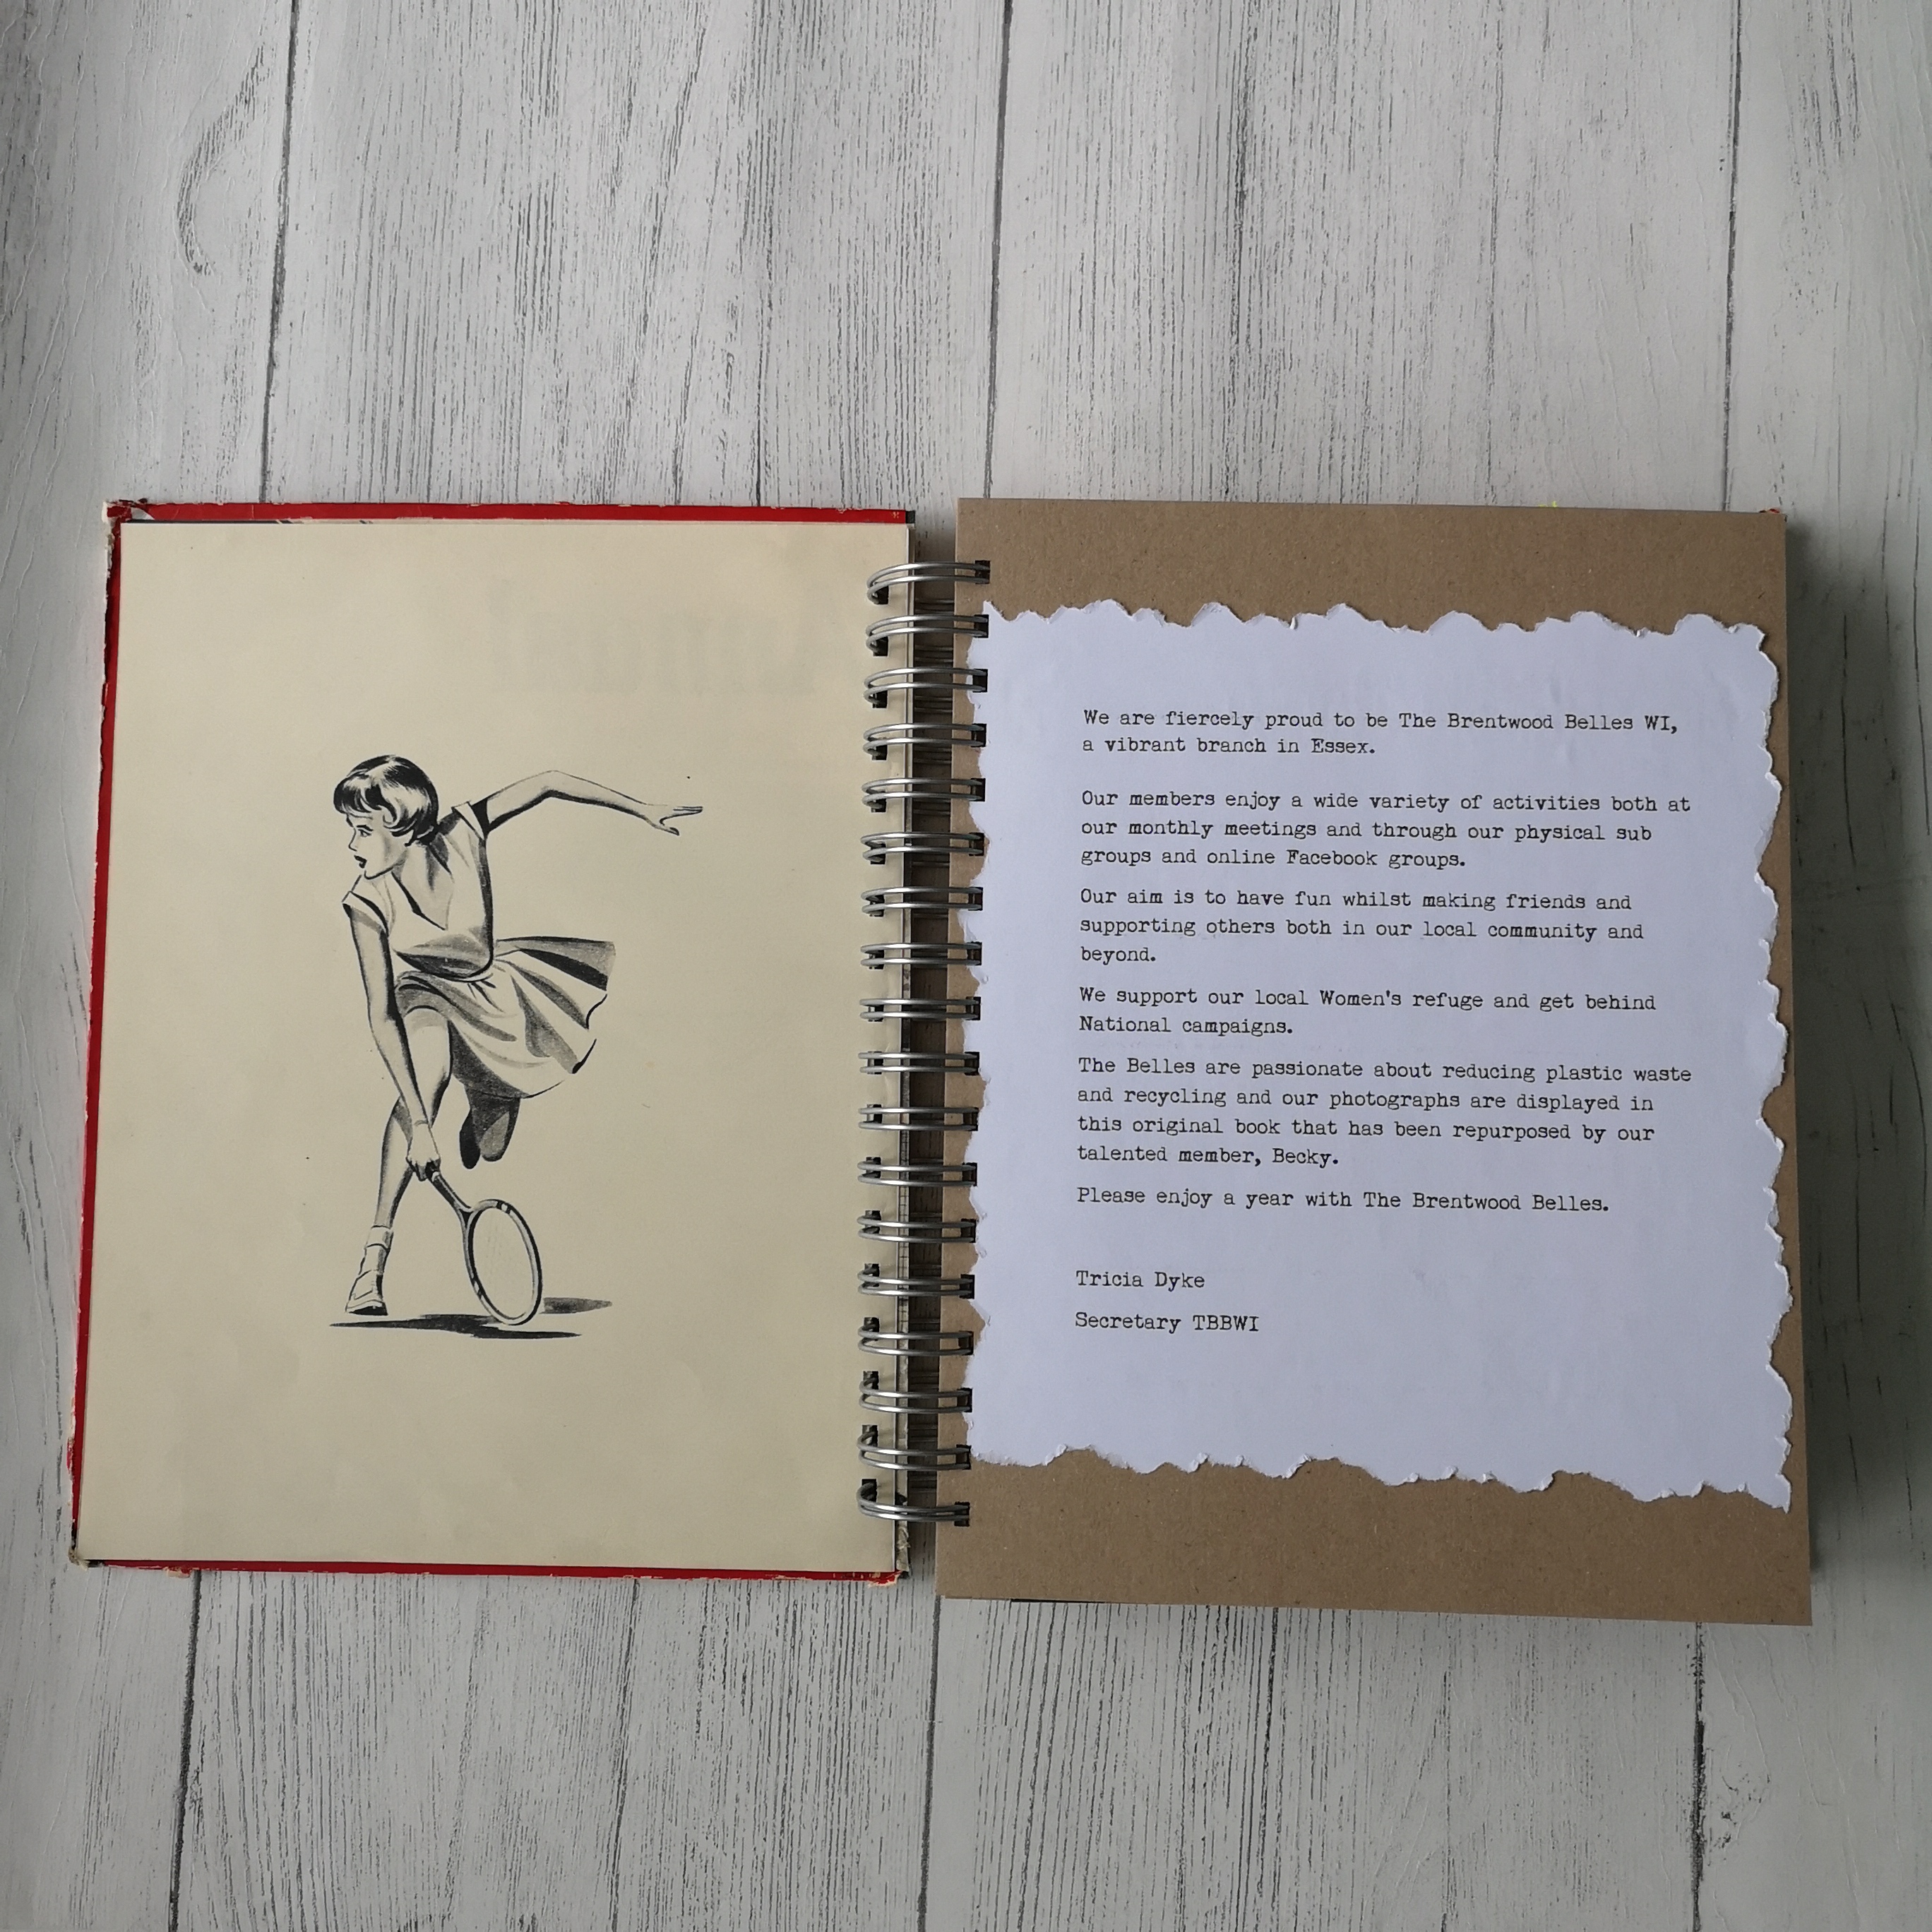
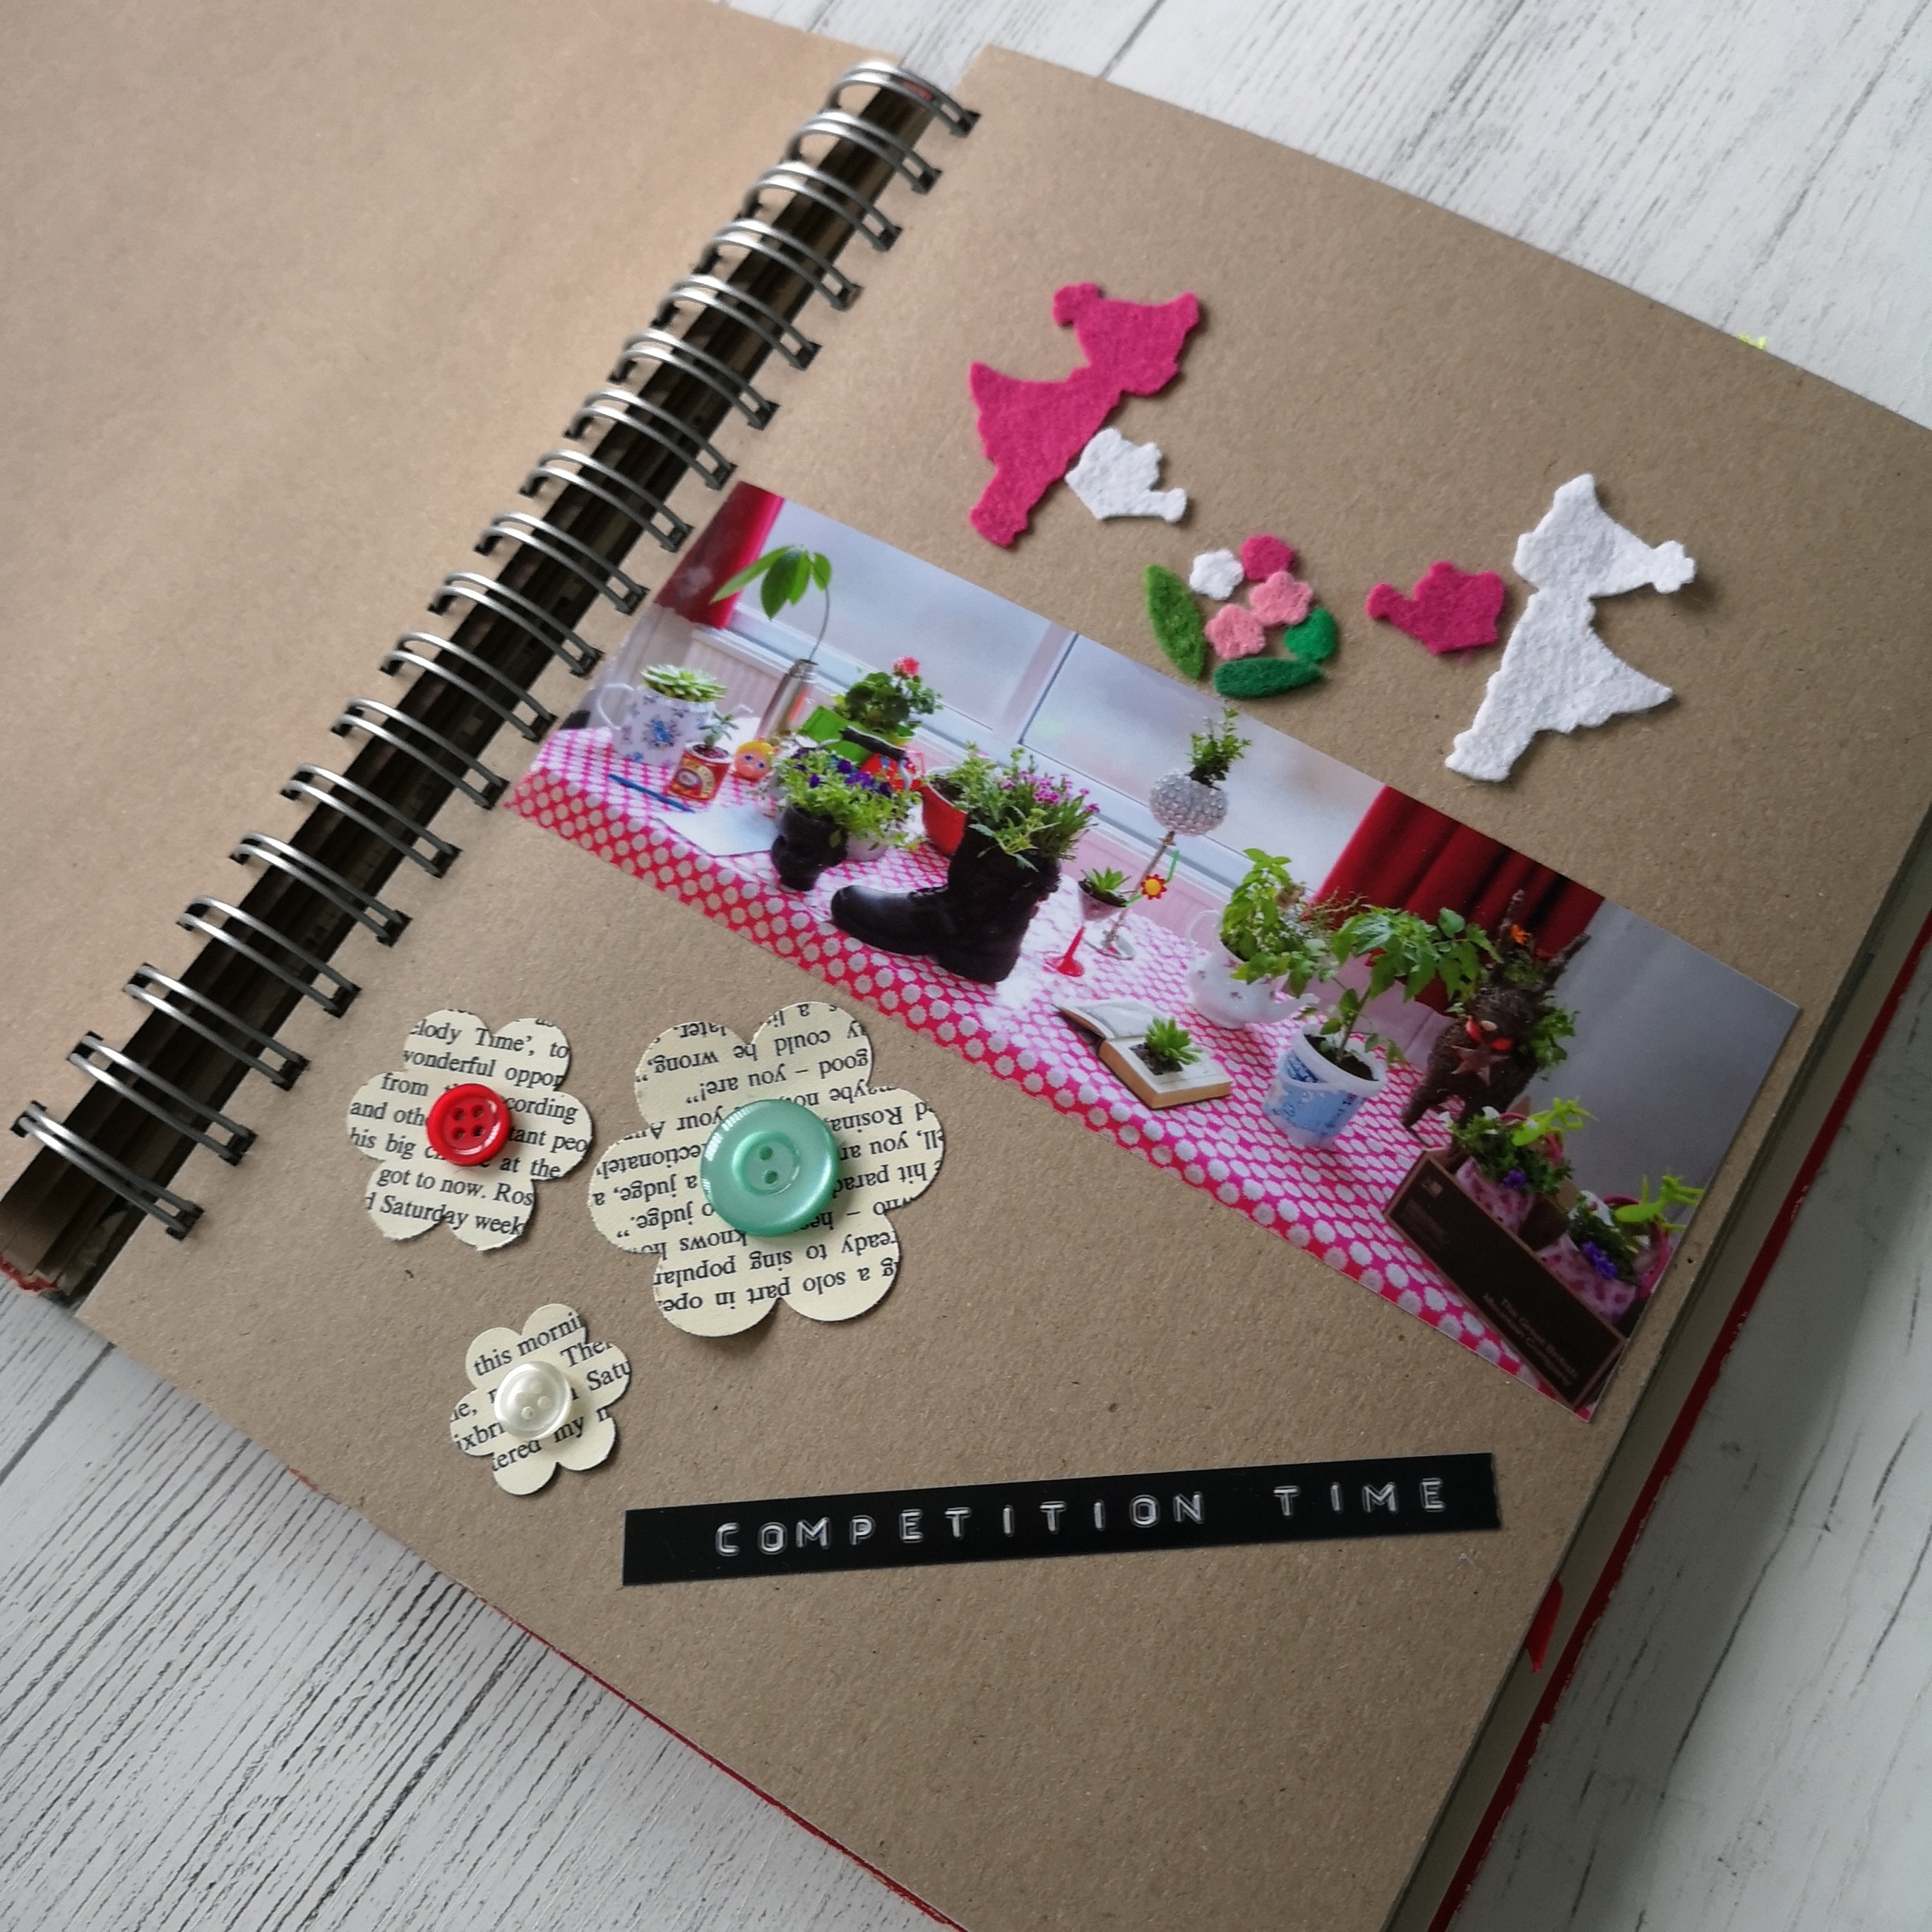
The official blurb was written by Tricia Dyke, our secretary. My intention was to print directly on the card page but unfortunately it was too thick to go through my printer. So I printed on paper and used my Fiskars Tear Edger to give the torn effect.

This was my favourite of all the pages. We did ‘Strollersizing’ – exercising to Rock and Roll music! So I used an actual old record and cut it square – a Stanley knife cut this fairly easily. I used a shoe punch to create the dancing feet, some old music paper and vintage gift ribbon all coordinating in simple black and white.

A vintage map and an old postcard gave a bright backdrop for this photo of Prague. The stamp was made using a stamp punch. Throughout the book we added captions using a Dymo label maker.

This was the hardest of all the photos – it wasn’t a particularly great photo, but it has huge importance as we are big supporters of the local women’s refuge and every year donate Easter Eggs for the children, so with some thought I cut the photo up to ke s ack of eggs, and decorated a printed truck image with some glitter tape. The sign is made from the ice lolly I was eating at the time!

The bunting was made from an old Cath Kidston leaflet, left over twine from notebook packaging, an old doiley, piece of cloth and some polka dot wallpaper.

I really wanted to cater for all the senses so this page got a good spray of perfume – I made the perfume bottle using my Cricut. I used a clear piece of plastic to make a window and filled the bottle with clear and heart sequins that moved!
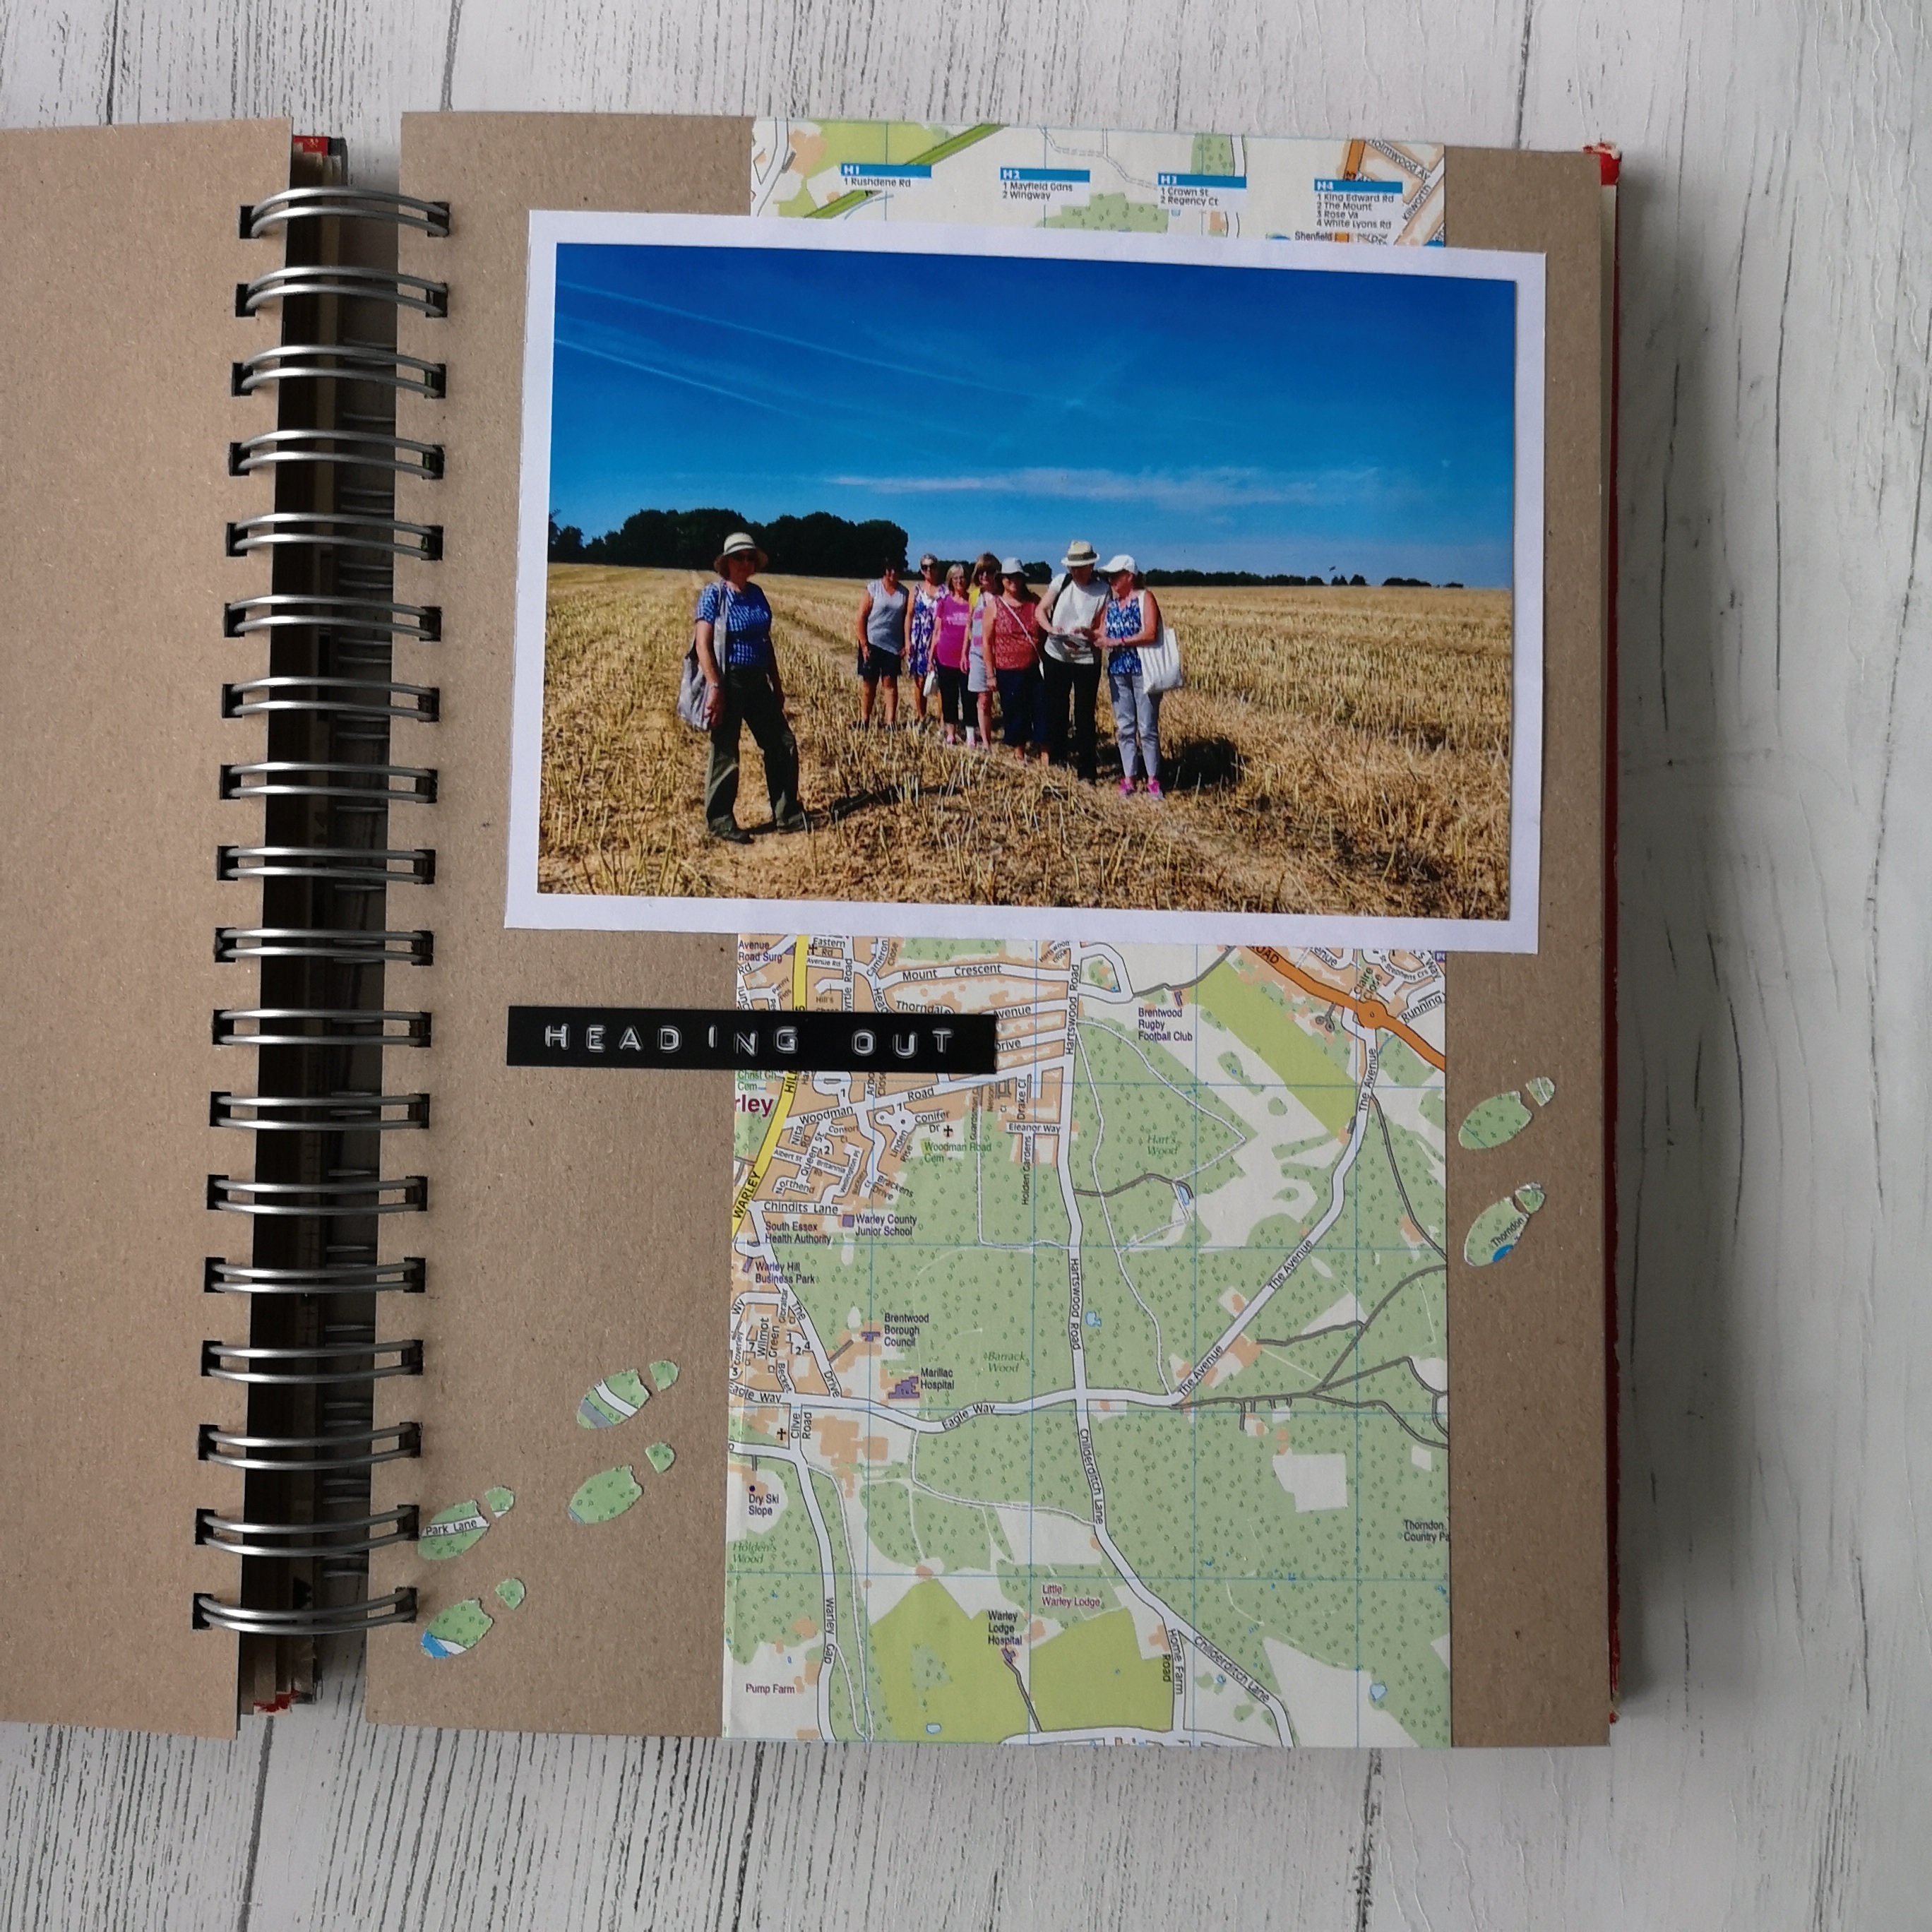
A map of Brentwood seemed perfect for our Walking Group photo – and the foot print stamp came in handy again!

That’s me pulling the face whilst yarn bombing this tree! I was so pleased to finally use this piece of knitting for the tree trunk – it was a little sample I made whilst on a learn to knit workshop – and as you do, I kept it, for ‘just in case’. 8 years later, I finally found a use for it!

I saw the idea for the cotton reels on pinterest, but to emphasise the ‘Sewing’ Group, I stitched the photo to the book. I made all the holes first using a card embroidery poker and foam mat, before threading with twine. The twine are all sample of twine I get sent when I buy the twine for my notebooks, so again a great way to re-use. The buttons were just cute…

This wasn’t really a very good photo, it’s poorly lit and out of focus but when it was taken no one knew it was going to be entered for a competition! However we wanted to include our darts team so I printed the dartboard and used coloured pencils to add some colour. The dart was made using silver vinyl cut on my Cricut and the flight was made using three heart shapes cut with a punch, folded in half and stuck together, from the paper from the original Girl Annual.

Again, I put some of the original book back by making an origami star. The back drop is cellophane glued in with Pritt stick – it dries clear.

Our final photo was of our wonderful President, Jane and I at our Retro Christmas Party! Here the 90’s met the 70’s so I tried to add that in the background with some 90s sparkle and some original vintage Christmas wrapping paper that I found in my nan’s house when when we cleared it out.

Finally I had to include this original article from the annual about photography – it was a photography competition after all!
It has definitely made me want to continue scrapbooking – if you haven’t tried it and don’t know where to start my tips are:
- Having a ‘subject’ for the book allows you to focus.
- Set a number of pages – don’t have too many. 12 worked well here.
- Draw ideas and plan loosely – but be prepared to change it and don’t be frightened to introduce new ideas.
- Anything goes – look around your paper / old cards and magazines / haberdashery stash. Mix materials and textures and try to excite all the senses if you can.
- Use a strong paper / card pages to support all the things you are sticking on!
Happy Scrapbooking!
Becky x